
Git worktrees give parallel tasks separate tracked files and branches in Paneflow. Each checkout can have its own panes and agent sessions, while the repository history remains shared on your machine. Separate checkouts do not eliminate merge conflicts or isolate running programs.
Paneflow creates and removes managed worktrees. Before removal it snapshots uncommitted files on disk; save editor buffers first. Ignored local files and secrets need separate handling, as described below.
What a worktree is
Worktrees only exist for projects that live in a Git repository, because
Paneflow uses Git worktrees under the hood. A worktree is a second copy
("checkout") of your repository. It has its own copy of every file, but it
shares the same metadata (the .git folder) about commits, branches, and
remotes. That is what lets you check out and work on several branches at
the same time.
Terminology
- Project checkout: the repository you opened as a workspace, the one your project folder points at.
- Managed worktree: a Git worktree Paneflow created from that checkout, and that it cleans up for you.
- Snapshot: a commit Paneflow makes of a worktree's uncommitted files on disk right before removing it. Unsaved editor buffers and ignored files are outside that guarantee.
Why use a worktree
- Let one agent work on a feature while another fixes a bug, each on its own branch, without disturbing your project checkout.
- Keep a long-running task in the background while you stay focused on the foreground.
- Read the diff in the session's Changes tab, without touching your project checkout.
Getting started
Worktrees require a Git repository. Make sure the project you opened lives in one.
Open a pane on a new branch
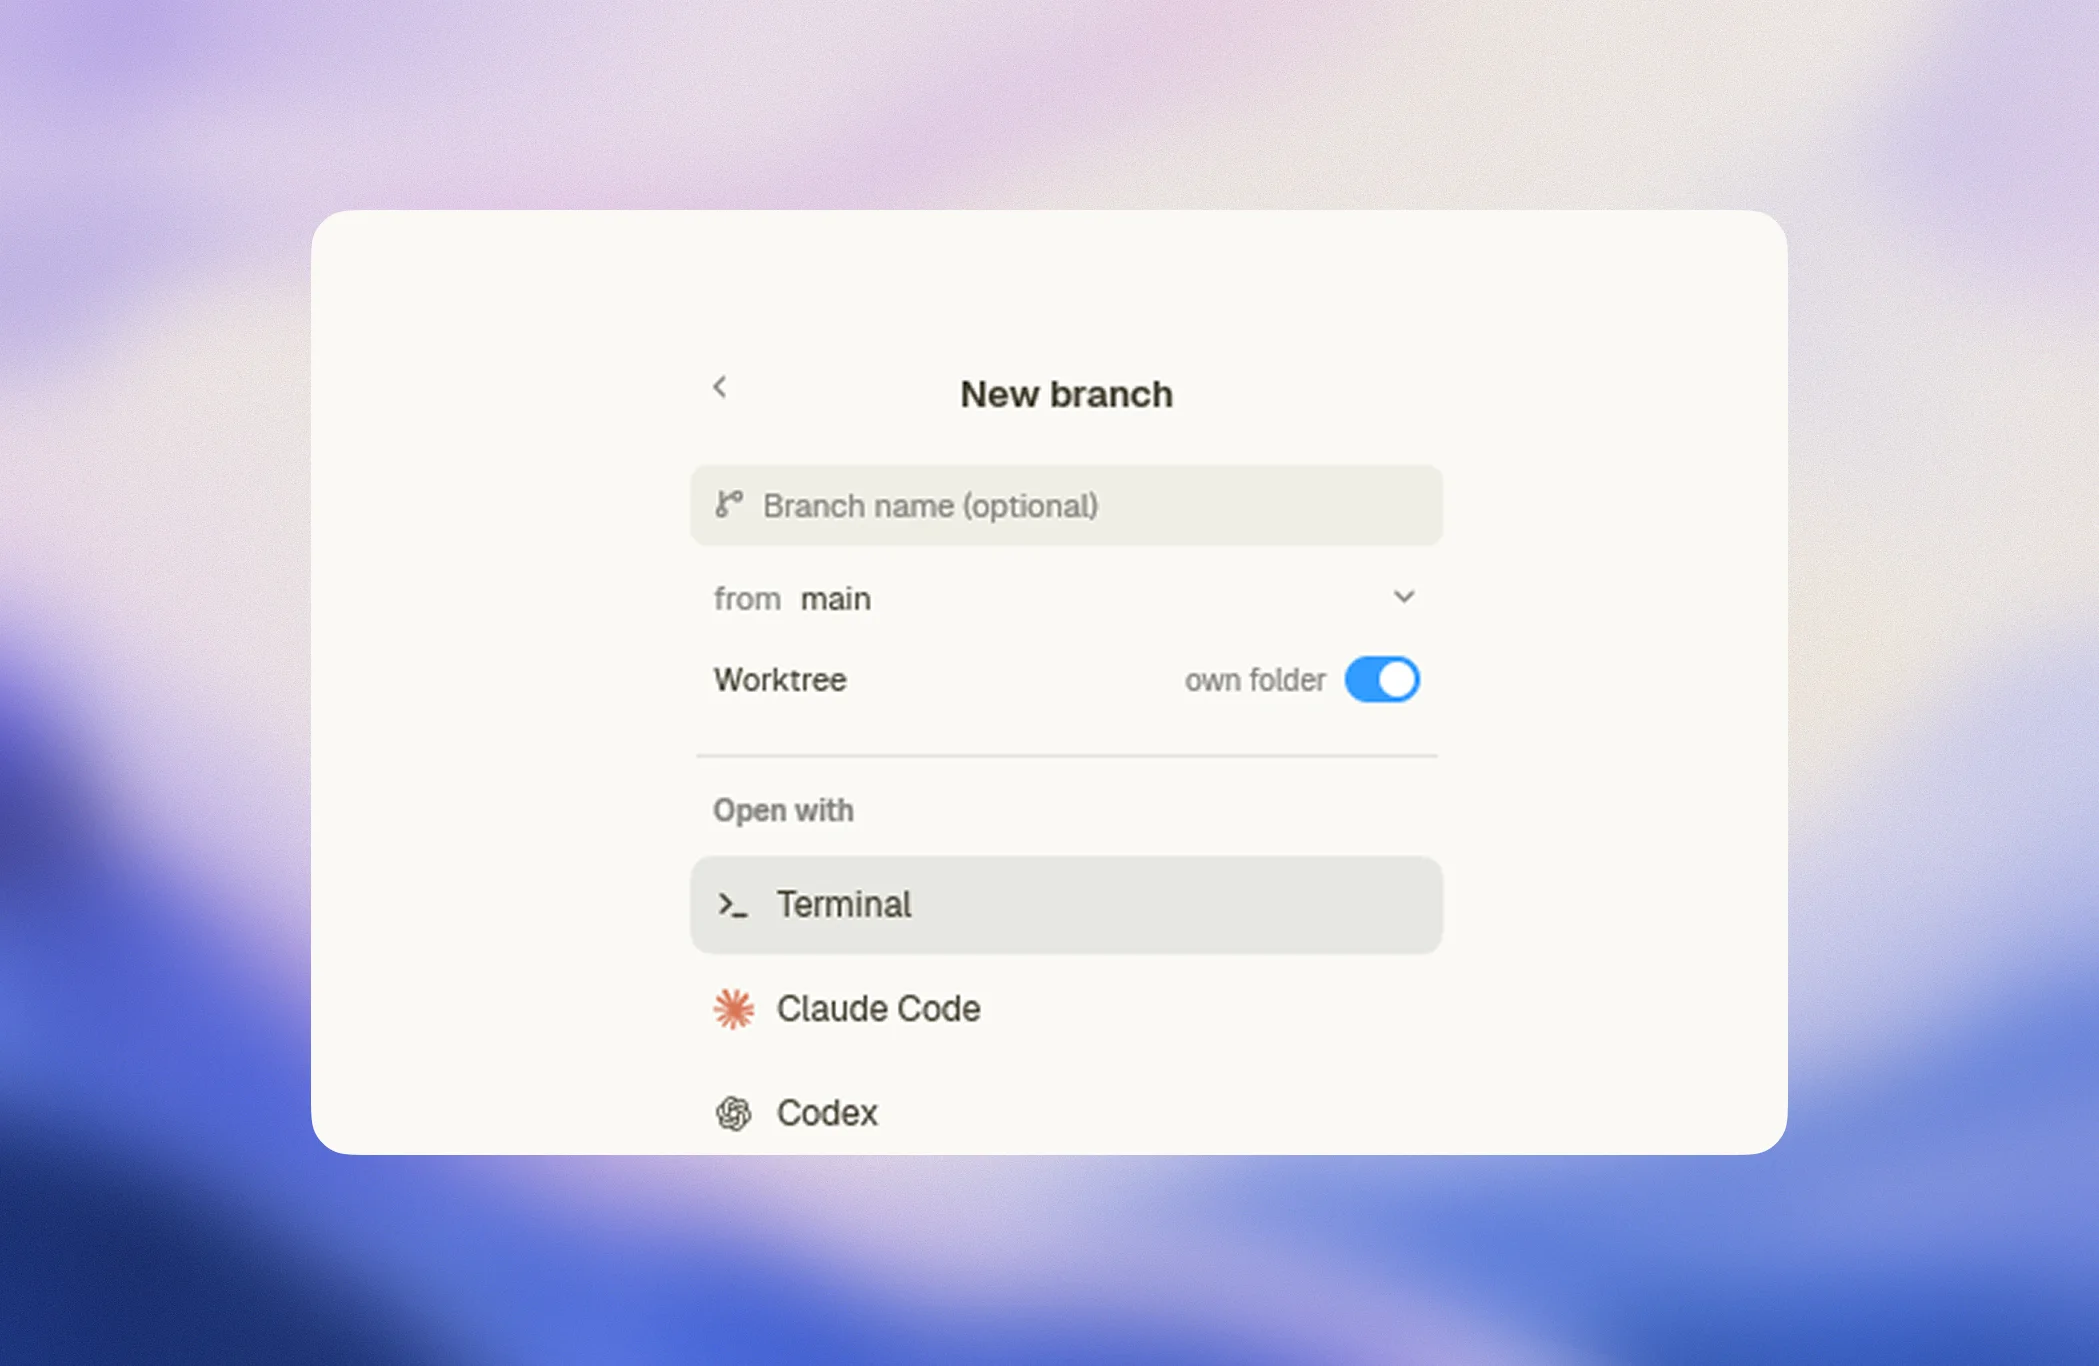
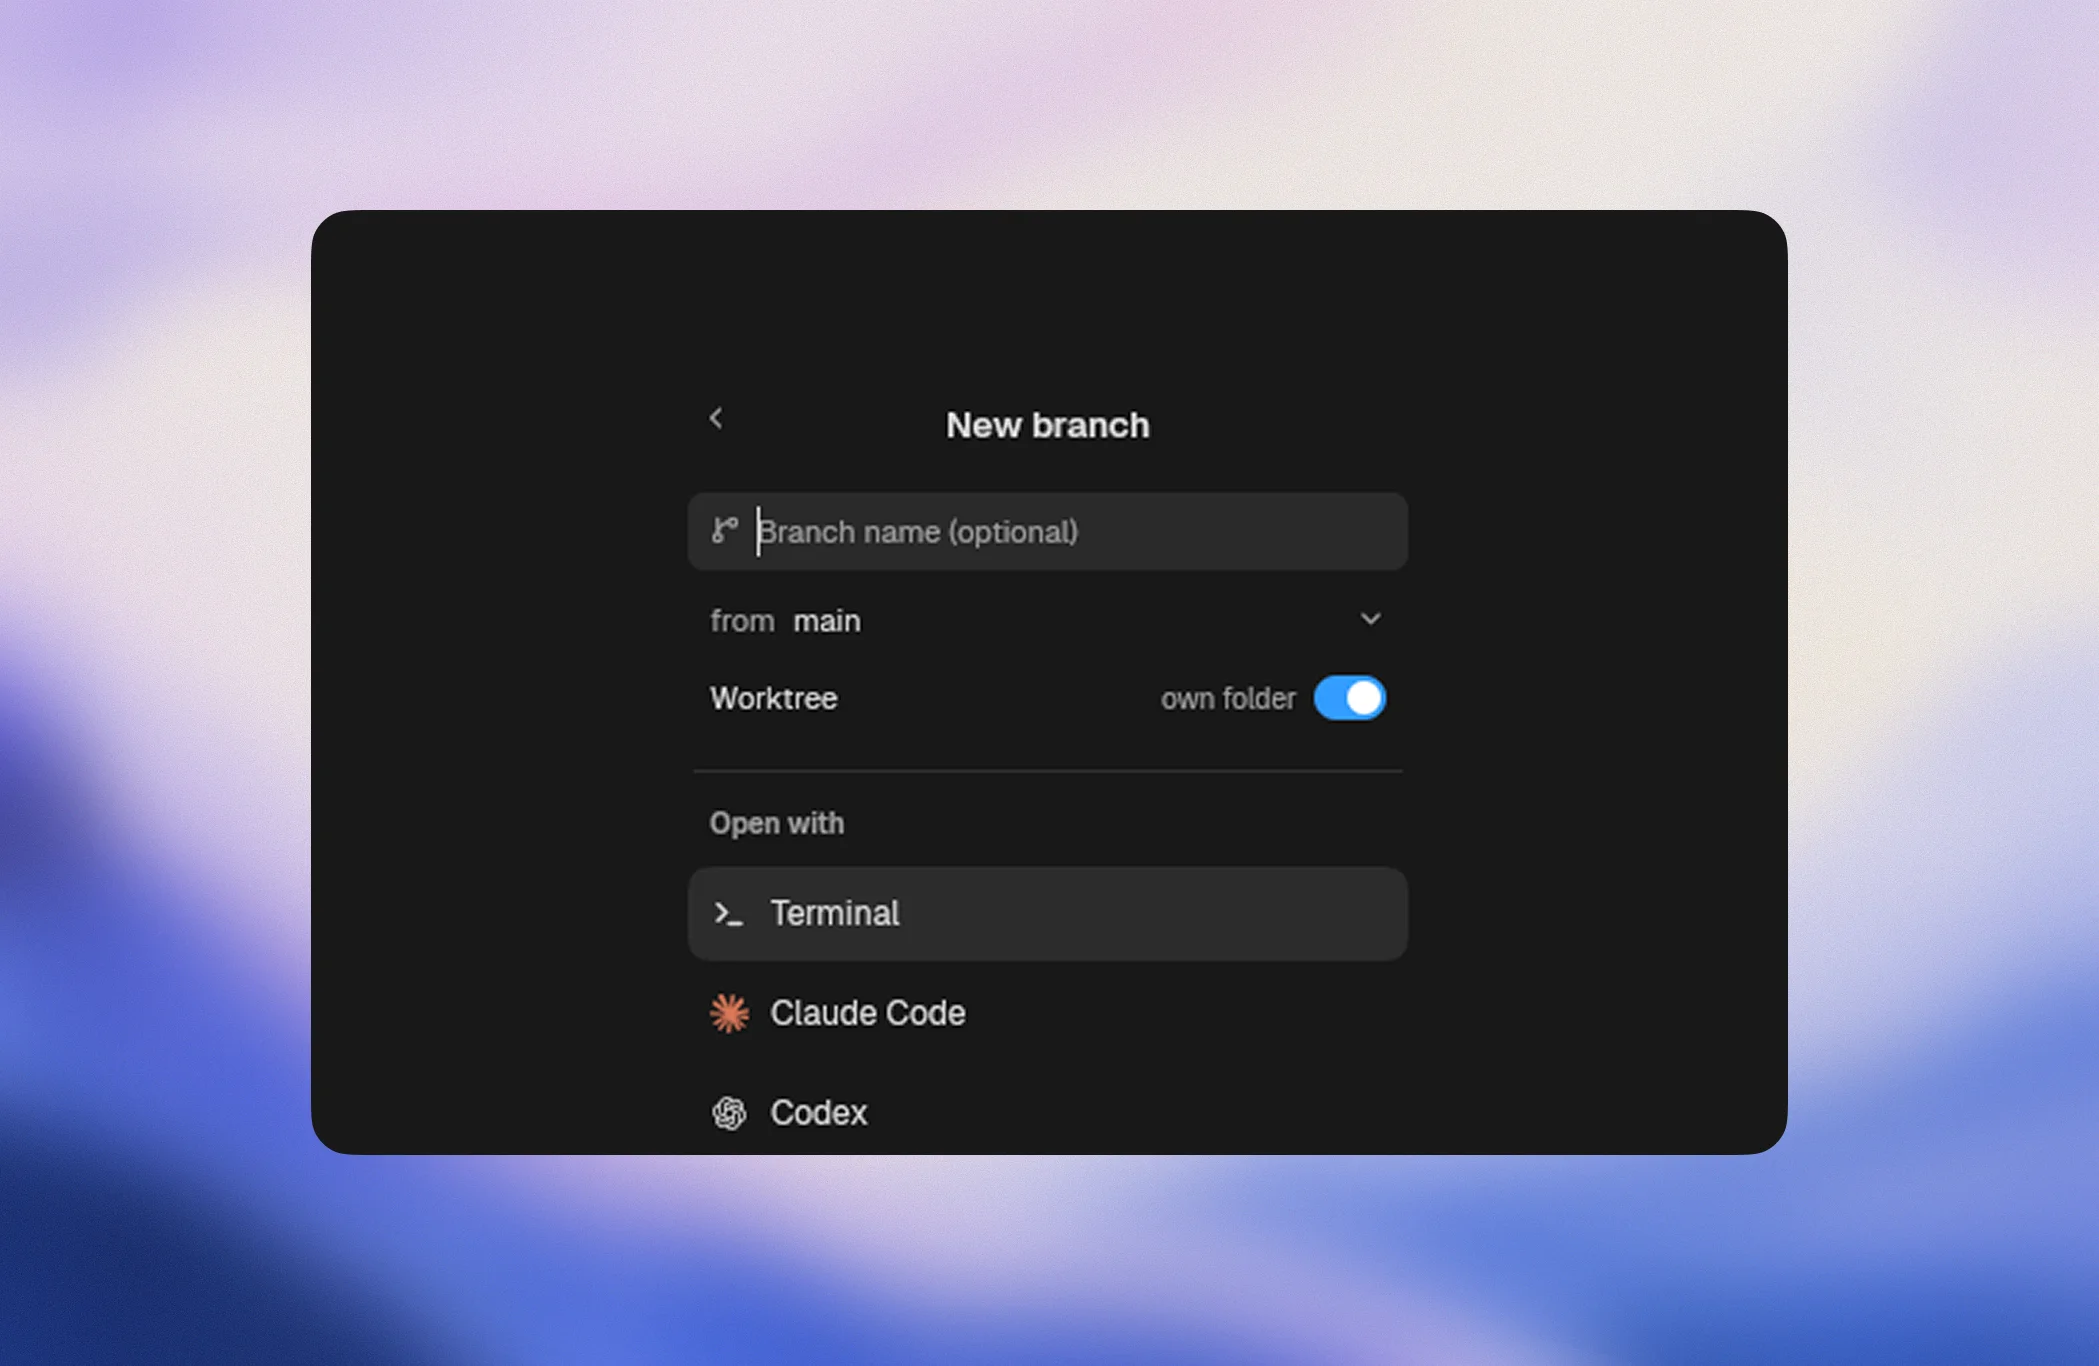
- Add a pane. The "New pane" palette opens with a branch row above the list of agents.
- Open the branch row and pick New branch….
- Type a branch name, or leave it empty to start detached.
- Pick the branch or commit to start from. It defaults to the branch your project is on.
- Leave the Worktree toggle on.
- Pick what to open with: a terminal, Claude Code, Codex, OpenCode, or any launcher you configured.
Paneflow creates the branch and its worktree from the base you picked, binds the tab to that worktree, and opens the pane there. The tab shows the branch name, and the agent starts inside the worktree directory.
The same flow exists in two other places:
- The tab's context menu offers New branch… for a tab that already exists.
paneflow upand flows takeworktreeandfromfields; see Scripting.
Reuse a branch that already exists
Pick an existing branch in the branch row, or type its name in "New branch…". If the branch is already checked out in a worktree, Paneflow reuses that worktree. If it is not checked out anywhere, Paneflow creates a worktree for it. The "from" base is ignored in that case, since the branch already has its own history.
Git only allows a branch to be checked out in one place at a time. Paneflow
never fights that rule: it reuses the existing checkout instead of failing
with 'feature/a' is already used by worktree at ….
Start detached, name the branch later
Leave the branch name empty and Paneflow creates a worktree detached at the
base you picked, named <base>-<sha> after the commit it started from. This
is the right choice when you do not know yet whether the work deserves a
branch.
When it does, right-click the tab and pick Create branch here…. Paneflow
runs git switch -c inside that worktree, so your uncommitted changes stay
exactly where they are.
Switch the project checkout instead
Turn the Worktree toggle off in the "New branch…" form and Paneflow
switches your project checkout to the branch in place, the way
git switch -c would, instead of creating a worktree. The pane opens at the
repository root, and nothing is added to the managed list.
Use this when you work alone on the repository and want a branch without a
second folder. Paneflow remembers your last choice in
worktrees.for_new_branches, so the toggle opens the way you left it.
Switching a checkout moves the files under every pane that uses it, so Paneflow refuses the switch while an agent is working in that checkout. A worktree exists for exactly that case.
Where worktrees live
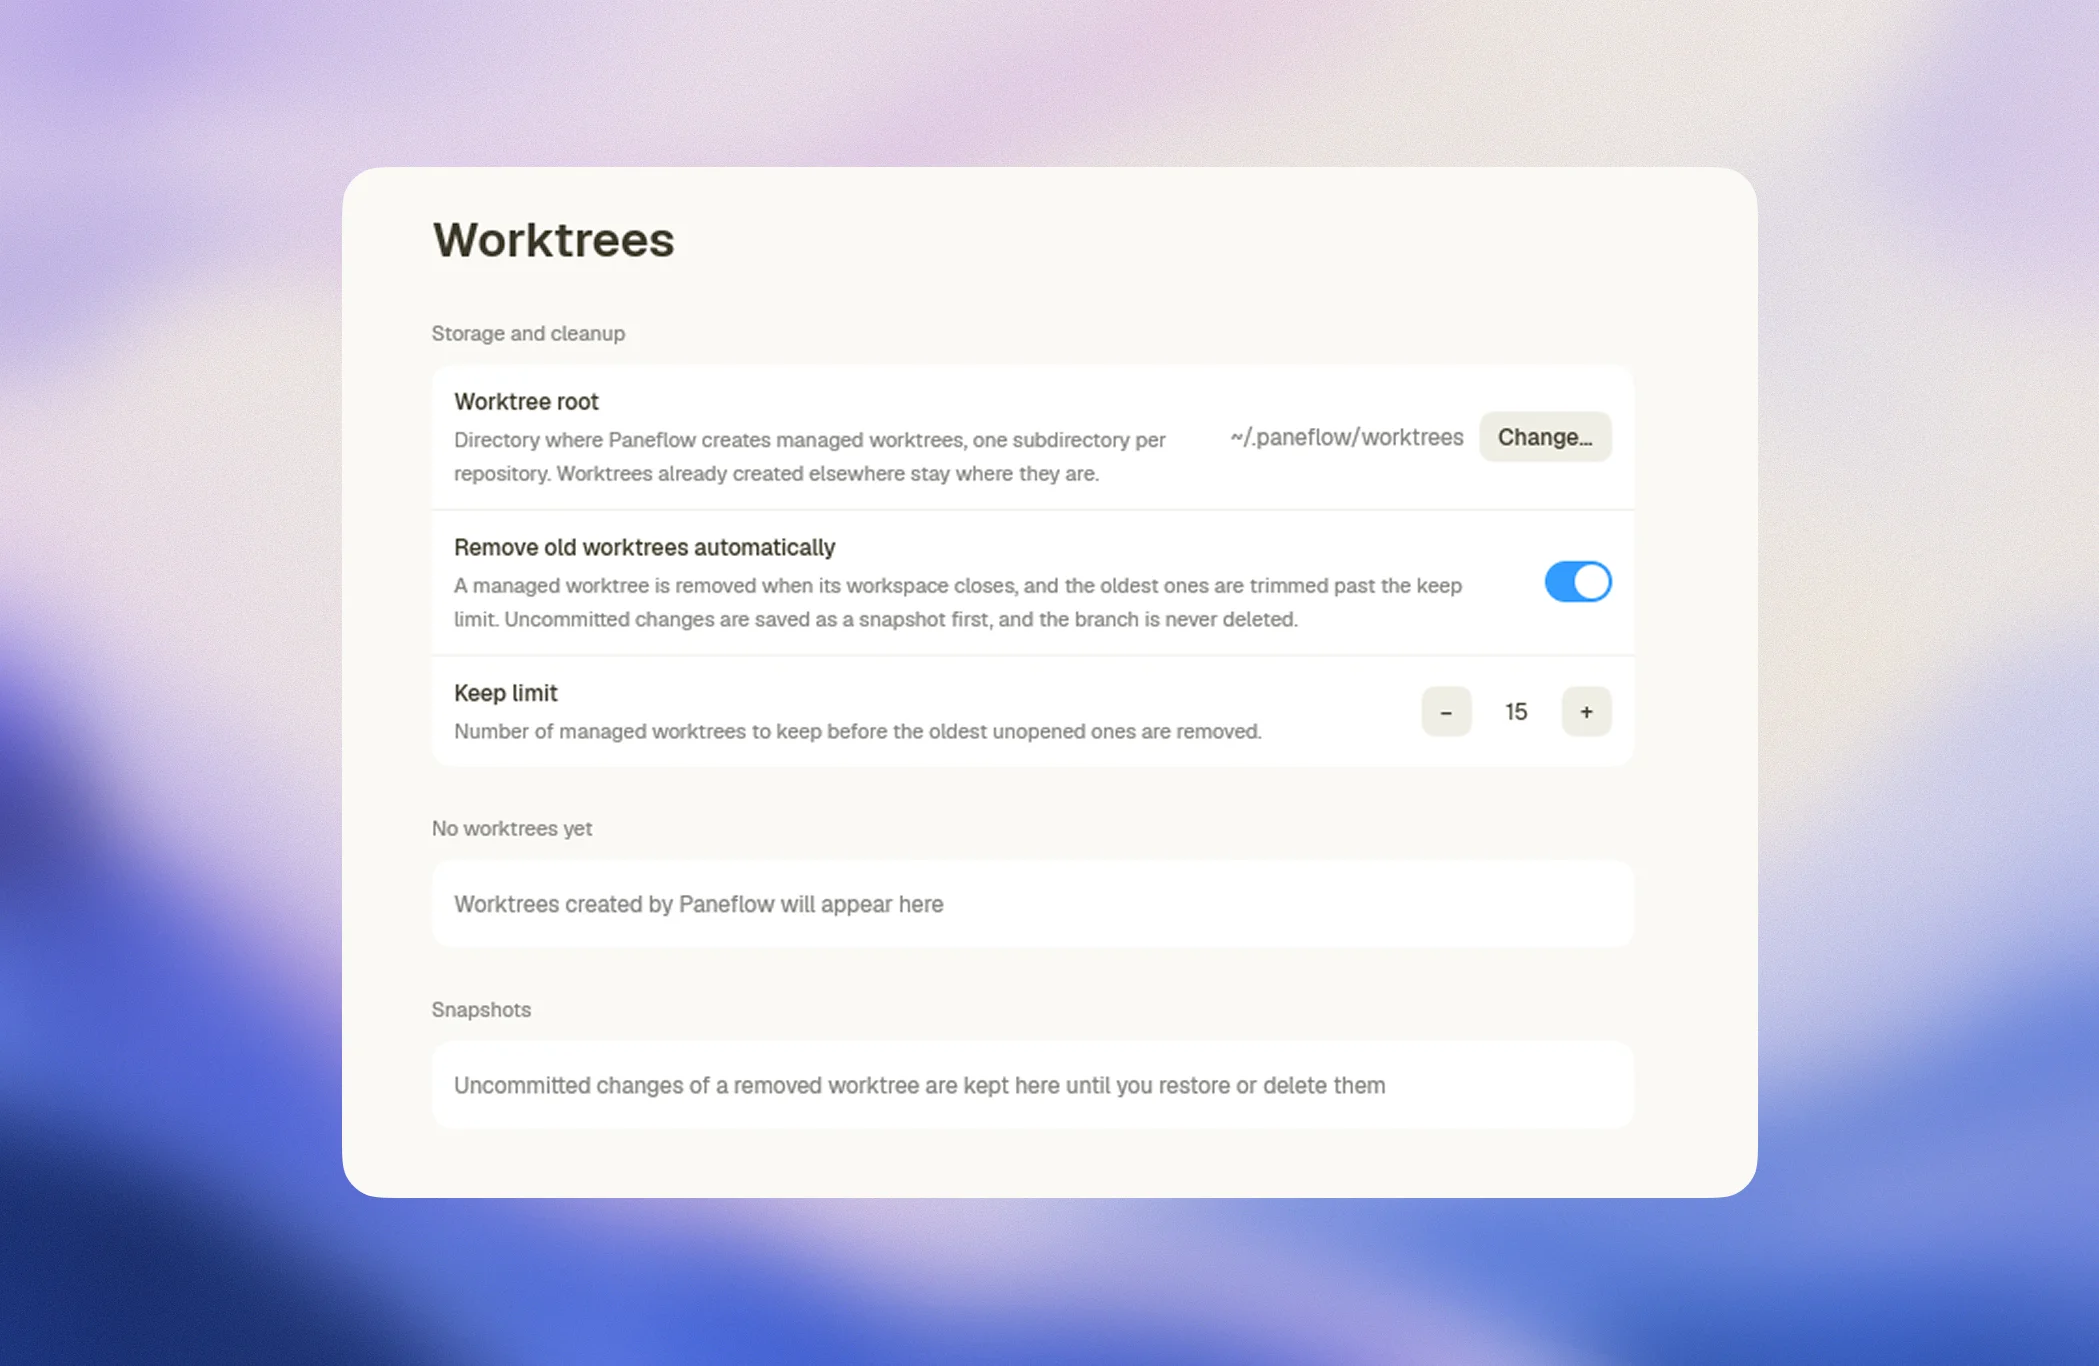
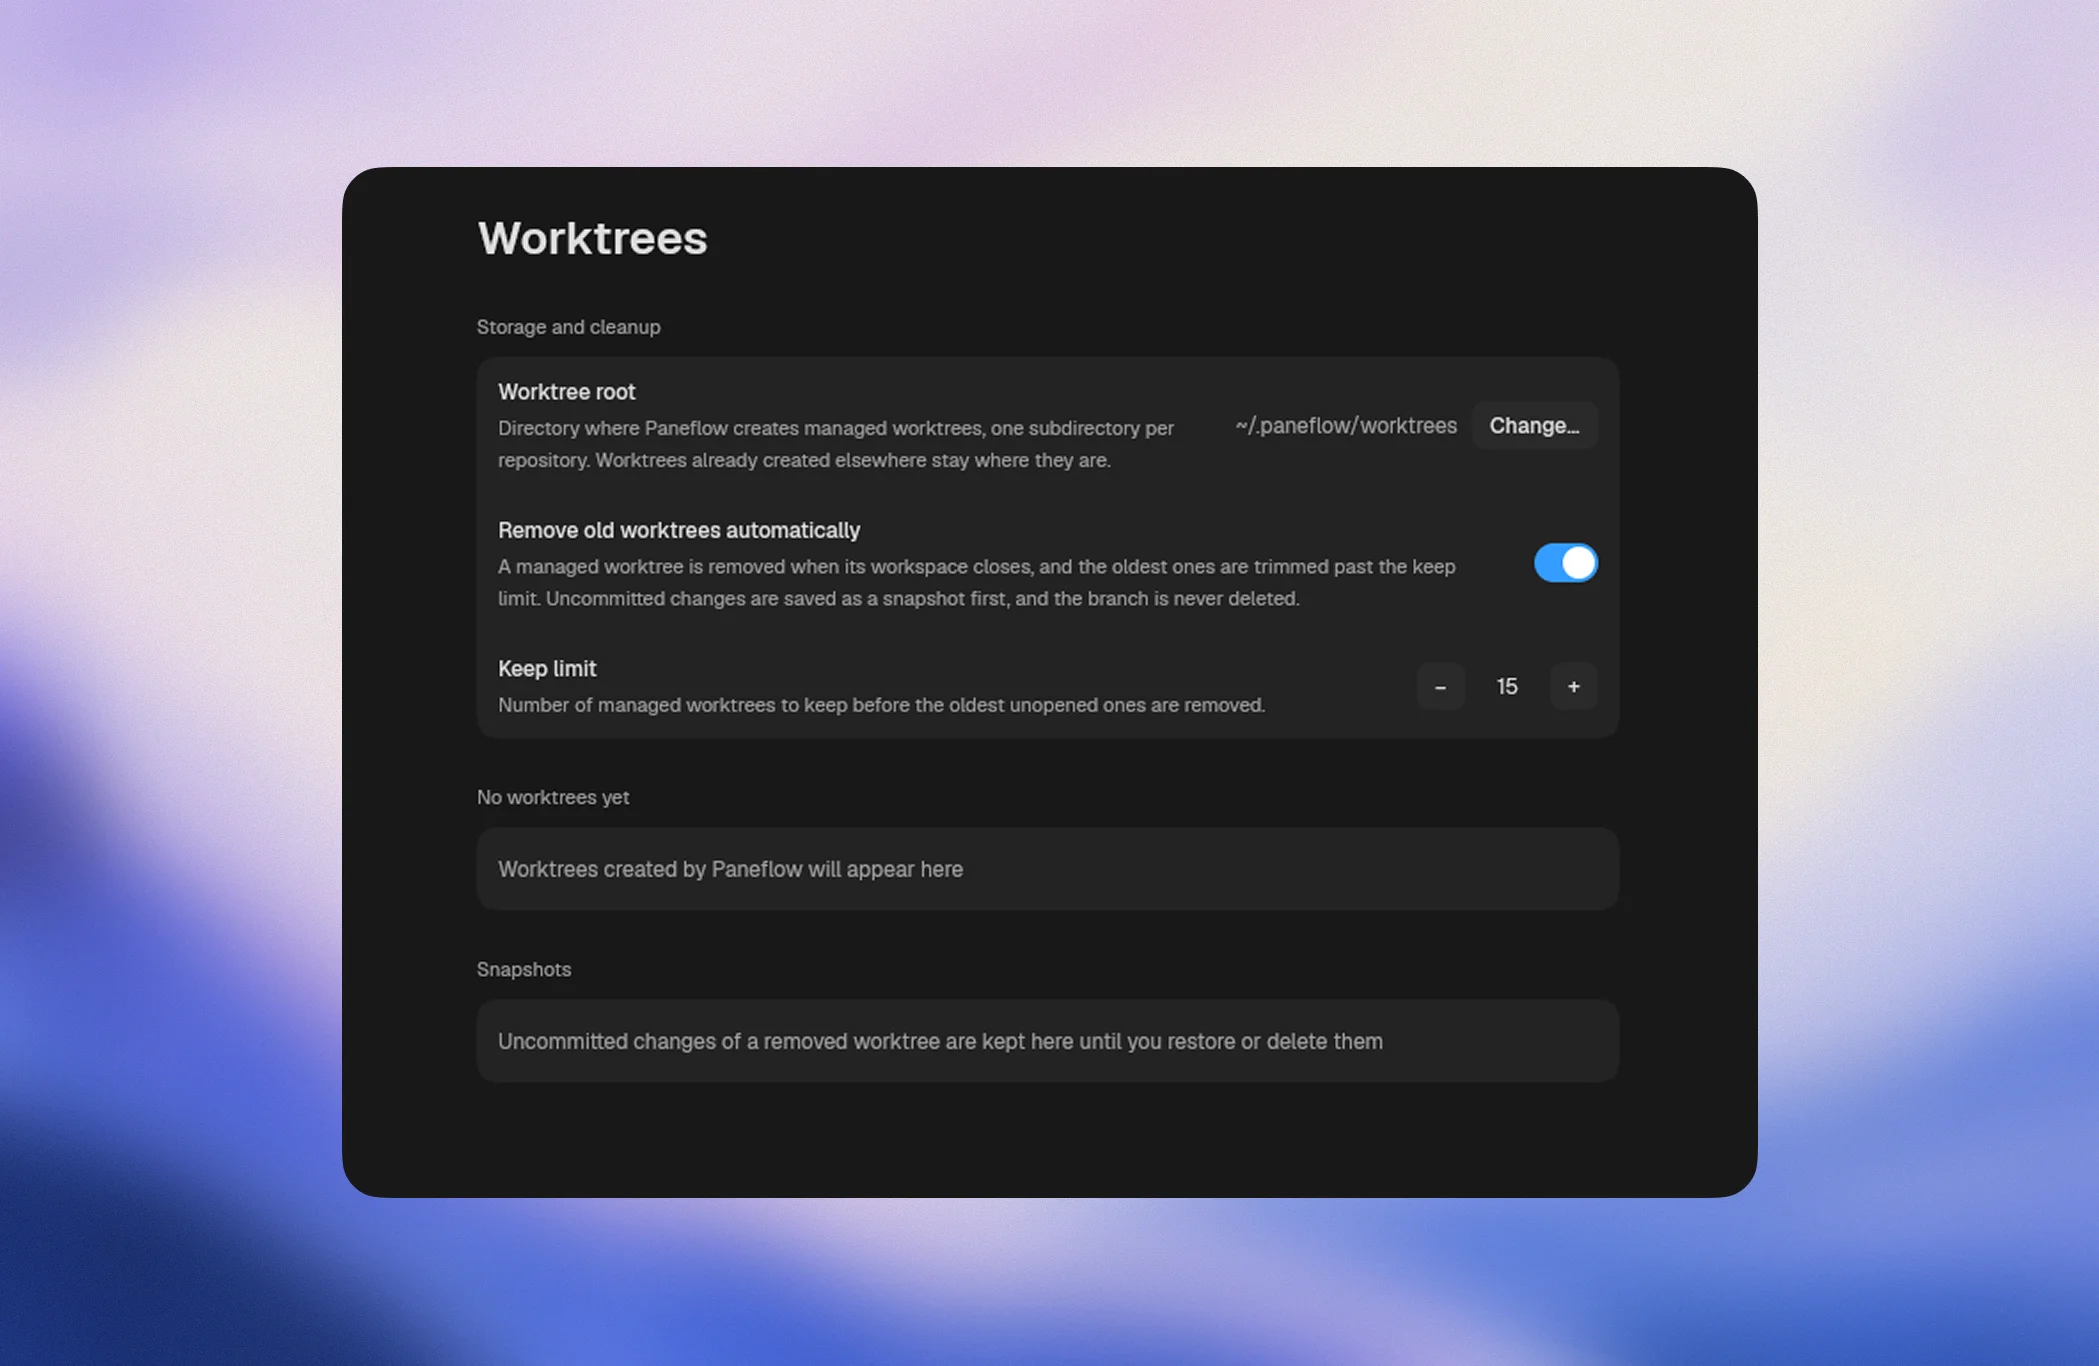
Paneflow creates managed worktrees under ~/.paneflow/worktrees
(%USERPROFILE%\.paneflow\worktrees on Windows), one subdirectory per
repository and one directory per branch:
~/.paneflow/worktrees/
  paneflow-05926cc4/
    feat-agents-browser/
    fix-login/
Nothing is written inside the checkout itself. The marker that tells
Paneflow it owns a worktree lives in the worktree's own Git metadata, so
git status stays clean and the marker disappears with the worktree.
Change the root in Settings > Worktrees, or set worktrees.dir in
paneflow.json. The new root applies to worktrees created from then on;
worktrees created under an earlier root keep working where they are and
stay listed.
Copy ignored local files into new worktrees
A new worktree starts from a Git checkout, so tracked files are already
there. Files Git ignores are not, and a worktree often needs a few of them
to run: .env, .env.local, a local secrets file.
Add a .worktreeinclude file at the repository root and list the ignored
paths to copy, one per line, relative to the root. Directories work too,
with or without a trailing slash, and # starts a comment.
# .worktreeinclude
.env
.env.local
config/secrets.json
Without the file, Paneflow copies the top-level .env* files and
AGENTS.override.md when they exist. A file that already exists in the
worktree is never overwritten. Do not list tracked files; Git already brings
them.
Cleanup
Worktrees take disk space: each one carries its own files, dependencies, and build caches. Paneflow keeps their number reasonable on its own.
By default Paneflow keeps your 15 most recent managed worktrees. Change the
limit or turn automatic removal off in Settings > Worktrees, or with
worktrees.keep_limit and worktrees.auto_remove in paneflow.json.
A managed worktree is removed automatically when:
- you close the workspace it belongs to;
- Paneflow needs to trim the oldest ones to stay within the keep limit.
A managed worktree is never removed automatically while a tab in an open workspace uses it. The branch is never deleted either: removing a worktree only removes the checkout, your commits stay on the branch.
You can also remove a worktree by hand from Settings > Worktrees, or
from the tab's context menu. Paneflow only removes worktrees it created;
worktrees you made yourself with git worktree add are left alone.
Snapshots
Before removing a managed worktree, automatically or by hand, Paneflow saves its uncommitted work as a snapshot: tracked edits, new files, and the branch the worktree was on. A clean worktree leaves no snapshot.
Snapshots are ordinary Git commits stored under refs/paneflow/snapshots/
in your repository. They do not touch your branches, they are never pushed,
and you can inspect them with git log refs/paneflow/snapshots/<name> if
you want to.
Settings > Worktrees lists them under "Snapshots":
- Restore recreates the worktree at its original path, on the same
branch, with the saved changes back as uncommitted work, and copies your
.worktreeincludefiles again. - Delete drops the snapshot for good.
Removing a worktree whose changes you no longer want is a two-step operation on purpose: remove, then delete the snapshot.
Frequently asked questions
Can I control where worktrees are created?
Yes. Set the root in Settings > Worktrees or with worktrees.dir. ~
expands to your home directory, and PANEFLOW_HOME moves the whole
~/.paneflow directory, worktrees included.
What happens to my work when a worktree is removed?
Your commits stay on the branch. Uncommitted changes go into a snapshot you can restore from Settings > Worktrees. Pick the branch again in the "New pane" palette to get a fresh worktree from its committed state.
Can I move work between a worktree and my project checkout?
Commit or stash on the worktree, then switch your project checkout to the
branch, either from the "New branch…" form with the Worktree toggle off or
with git switch. Git will refuse while the branch is still checked out in
the worktree, so remove that worktree first from Settings > Worktrees.
Does Paneflow touch worktrees I created myself?
No. Paneflow lists them in the branch row and opens panes in them, but it never removes a worktree it did not create.
Two tasks, then one integration
For Paneflow 0.17.4, start from a committed base in a disposable Git project. Use the existing New branch... procedure above with Worktree enabled:
- Create
feat/api-validationfrom the chosen base for one task andtest/api-validationfrom the same base for its tests. Confirm each tab's checkout path and branch before launching an agent. - Assign explicit file ownership and use a different dev-server port per task. Install dependencies in the appropriate checkout. Uncommitted changes in the project checkout do not become tracked files in the new worktree; commit the intended base first if both tasks need it.
- Save edits, read Changes against each checkout's
HEAD, then commit and review the full branch diff with Git. Changes is not a merge-base review. - Integrate the reviewed commits in your chosen integration checkout, resolve conflicts and run the relevant tests together before accepting the result. Avoid removing either checkout until useful work is preserved.
Git history, remotes and branch references are shared. Ports, databases,
network access and user permissions are not isolated. .worktreeinclude
can copy local secrets; decide which files each task should receive. A
worktree is not a security sandbox.
Existing branch, non-Git project or unsaved editor
An already checked-out branch reuses its existing checkout; it does not create a second independent copy of that branch. Check its path before assuming isolation. A non-Git project has no managed Git-worktree flow; use its current directory or initialize Git deliberately.
Save or deliberately discard editor buffers before switching or removing a checkout. Snapshots read disk files, not unsaved text. Switching the project checkout is also refused while an agent is working there. If Git rejects a switch because files would be overwritten, preserve them and resolve the cause instead of forcing cleanup.
See Changes for the review scope and Files for save conflicts.
See also
- Configuration reference - every
worktrees.*key. - Scripting -
worktreeandfrominpaneflow up. - Settings - the Worktrees page.